How to Remove Car Wrap | Best Methods and Safety Tips
Wrapping is a great way to customize the car’s appearance without the full paint job. But do you know how to remove car wrap when it gets old or wears out? In this guide, you will learn the three best methods to remove vinyl wrap from a car, tips to avoid paint damage during the removal process, and common mistakes to avoid. It is important to remove vinyl wrap safely to avoid damage to the original car’s paint.
Table of contents
- Preparation to Remove Car Wrap
- Top 3 Methods to Remove Car Wrap
- How to Remove Car Wrap Using Heat Application
- How to Remove Vinyl Car Wrap Using Chemical Solvent
- Combination Method for Removing Old Car Wrap
- The reason behind the early expiration of wrap
- Tips to Avoid Paint Damage During Removal
- Common mistakes when removing vinyl wrap from a car
- When to consider professional car wrap removal
- Additional Guide About Removing Vinyl Wrap From Vehicle
- Conclusion
- FAQs
Preparation to Remove Car Wrap
Some preparation is necessary to efficiently carry out the wrap removal process. This preparation will make the job easier, faster, and safer.
Essential tools needed
The first step is to gather the required tools for removing vinyl wrap from the car. Here is the list of necessary tools:
- Heat gun or hairdryer: Helps loosen the adhesive.
- Plastic scraper or squeegee: to gently lift the wrap.
- Adhesive remover: To clean off leftover glue.
- Microfiber cloth: This is used for wiping and cleaning the surface.
- Isopropyl alcohol: Helps remove any remaining residue.
- Safety gear: Protect your hands, eyes, and body from chemicals and heat.
Safety precautions to follow
Before starting the wrap removal process, you must pay attention to safety precautions. Before learning how to remove car wrap, you must know about the safety precautions. Here are some key safety precautions:
- Always work in a ventilated area to avoid inhaling fumes from solvents and adhesives.
- Do not forget to wear protective gear such as gloves, glasses, etc.
- When using the heat gun or hair dryer, do not overheat the surface to avoid damaging the car’s paint.
- Always test the solvent on a small area first to know whether it will cause damage or not.
- Remove the wrap from the car patiently because rushing the process can lead to peeling off the paint.
Top 3 Methods to Remove Car Wrap
There are three main methods to remove car wrap, including heat, chemicals, and using both heat and chemicals. Each method has its own benefits and is suitable for specific scenarios, so choose wisely. Here are the step-by-step details about how to remove car wrap with each of these 3 methods.
- Heat application method: Heat application is the most common and safest method for vinyl wrap removal. This technique first softens the adhesive material to make it easy to remove the wrap from the car.
- Chemical solvent method: If the wrap is too old and the heat method does not work, use the chemical solvent method. The chemical solvent technique is very effective to remove old vinyl wrap from the car.
- Heat plus chemical solvent technique: For removing too old and sticky car wrap, you can try both the heat and chemical solvent. This technique is only recommended for removing too old and sticky car wrap.
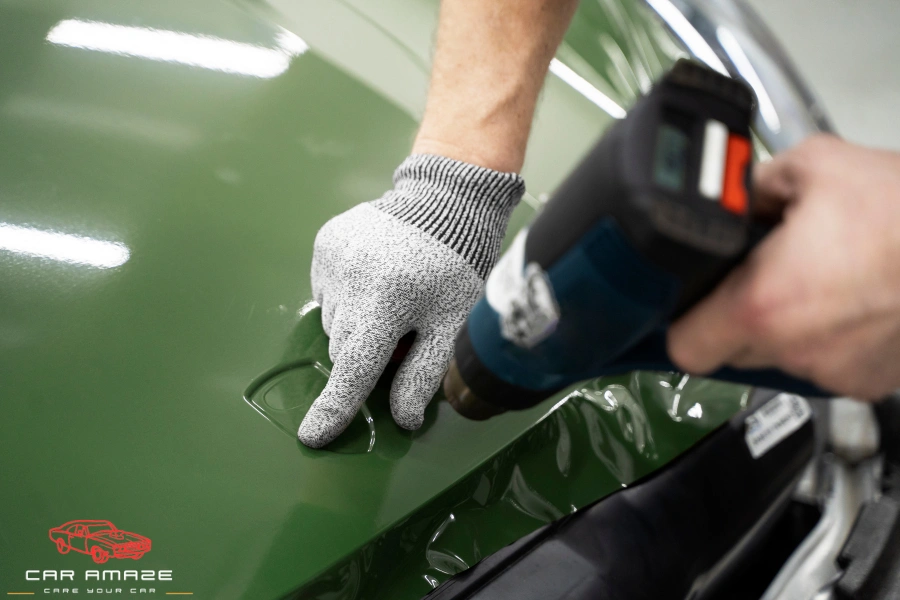
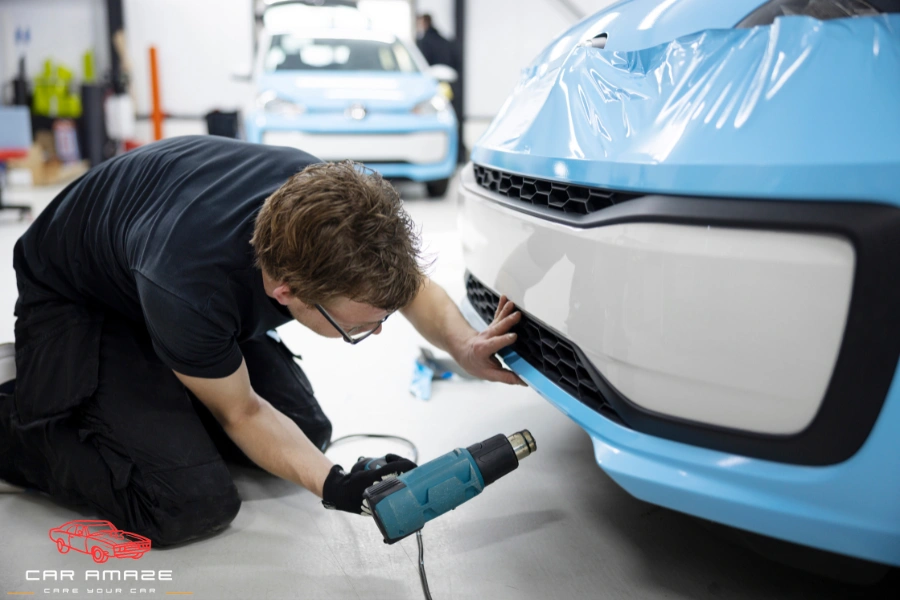
1. How to Remove Car Wrap Using Heat Application
If the wrap is not too old and damaged, using heat is a very simple, effective, and affordable method. Here is a step-by-step guide on how to use the heat method to remove car wrap:
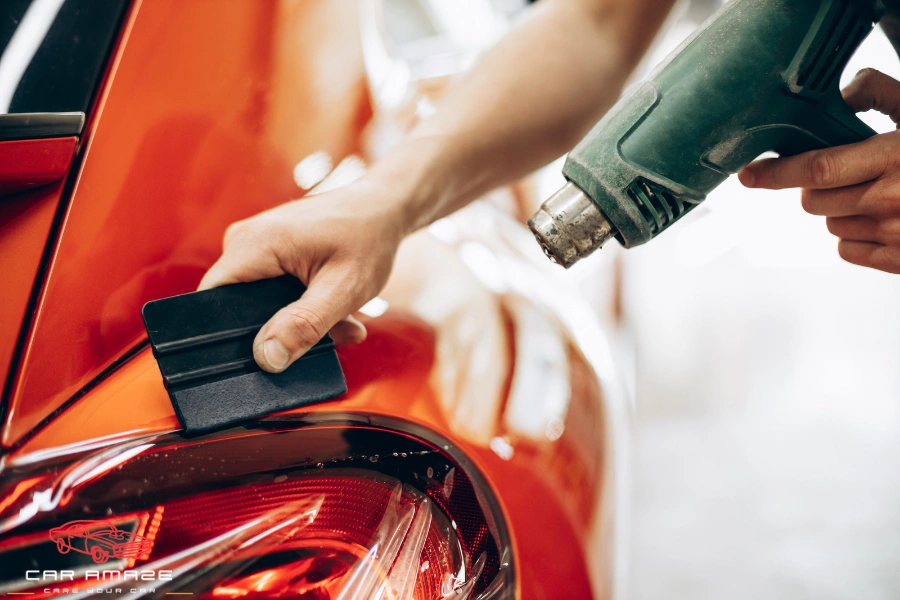
Choose the right heat source
A heat gun is recommended for heating purposes. However, if you don’t have it at home, you can also use a hairdryer for heating purposes. A heat gun is more useful because you can easily adjust the temperature and adjust the heat based on requirements.
The ideal temperature for safe removal
The best temperature range for safe removal is 120°F to 180°F (49°C to 82°C). Excessive heat can burn or completely melt the wrap layer and cause damage to the original paint.
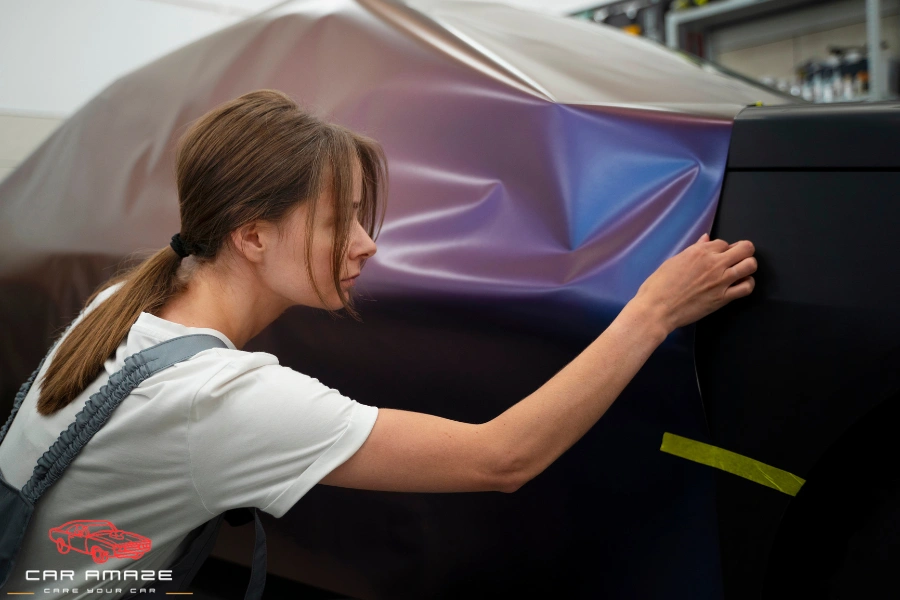
Peeling off the wrap correctly
When you feel that the adhesiveness of the wrap is weakened, start removing the car wrap. Begin lifting the wrap from the edge with a plastic scraper and gently pull back at a 45-degree angle.
Removing residue after heat treatment
After removing the car wrap, sometimes the sticky residue is left on the surface. Use isopropyl alcohol or an adhesive remover to clean off leftover glue. Finally, use the soft microfiber cloth to remove the glue removal solution and clean the surface without causing scratches.
Best practices to avoid paint damage
Here are some safety measures to remove car wrap without damaging paint:
- Never use sharp tools to remove the vinyl wrap from the car’s surface.
- Keep the heat level optimal and do not overheat the specific area.
- Work slowly and patiently to prevent peeling off the clear coat.
2. How to Remove Vinyl Car Wrap Using Chemical Solvent
The chemical solvent method is recommended for removing an old vinyl wrap from the car. Here is the breakdown of the chemical solvent method to remove car wrap:
Selecting the right solvent for wrap removal
Use a vinyl wrap remover spray that is specially designed for automotive use. Consider buying mild wrap remover spray, especially if your car has delicate paint.
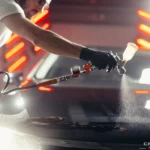
Apply solvent to remove car wrap
Spray the solvent evenly over the wrap and let it sit for a few minutes. Be careful with the amount when applying the chemical solvent because excessive usage can damage the paint.
Wait until the solvent breaks down the adhesive.
The chemical solvent will take around 5-10 minutes to soften the adhesive. After a 5-minute interval, try peeling the wrap from small portions. If you feel that the strong adhesive is no more, start removing the car wrap.
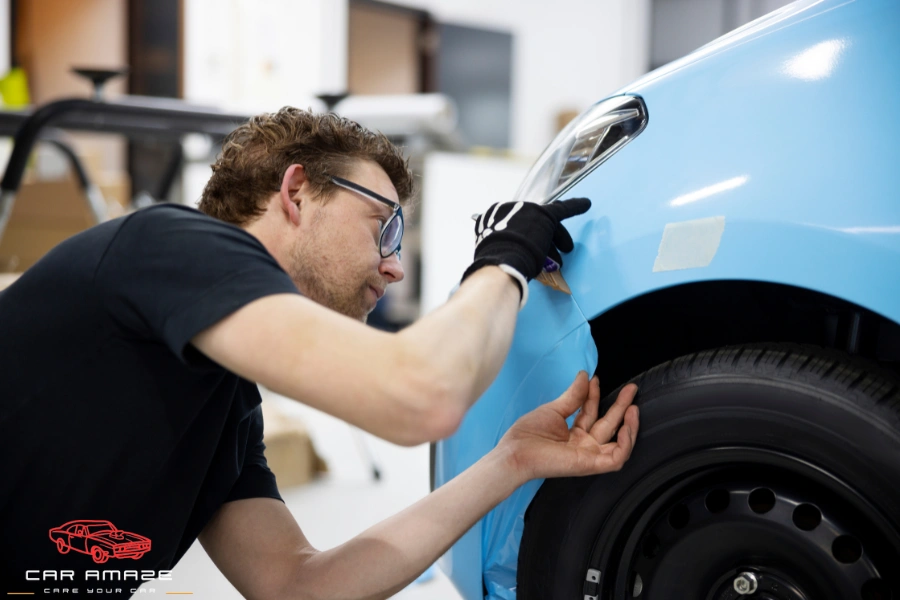
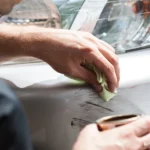
Peeling off the vinyl without damage
To efficiently remove car wrap, start peeling the wrap from the edges and slowly lift it. If you feel that the wrap is strongly stuck to the car’s surface at some point, apply more chemical solvent.
Cleaning off residue after removing the wrap
Finally, clean the leftover residue with isopropyl alcohol and wipe the surface with a microfiber cloth. You can wash the car with mild soap and water to get a shiny and fully cleaned surface.
3. Combination Method for Removing Old Car Wrap
If the car wrap is too old and the glue strictly adheres to the surface, try both the heating and chemical solvent methods. Here is the step-by-step process to apply both:
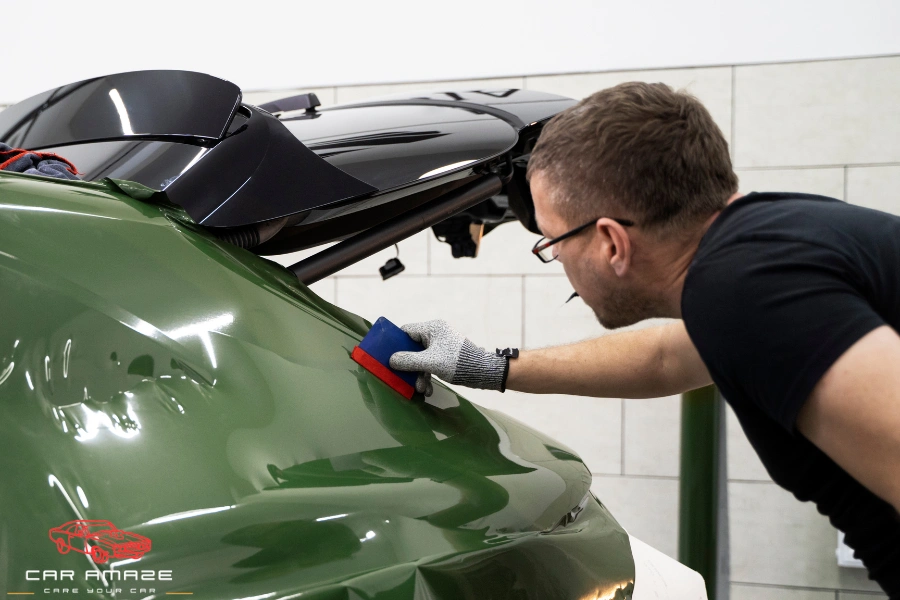
- When to use heat and solvent together: Only use the heat and solvent together if the wrap is old, brittle, or heavily stuck. This method is recommended only if both of the previous methods do not work.
- Process to remove car wrap with the combination method: First, peel back the small portion of the wrap from the corner and apply the solvent underneath. Let the solvent stay for some time and soften the glue. Finally, start applying the heat and continue peeling the wrap carefully.
- Removing stubborn adhesive spots: Wash the car with good cleaning soap and water to remove stubborn glue spots. Do not forget to wax car with a buffer because it is necessary to restore the shine of the original paint.
- Tips for a smooth wrap removal process: One of the important tips to remove car wrap safely is to apply heat or solvent to a small area first. Additionally, after removing the wrap when you clean the surface, rub in a circular motion for more effective results.
So, the first important step is to assess the condition and age of the wrap, and the next step is to choose the right method. Proper tools, patience, and the right technique are required to remove car wrap safely and efficiently.
The reason behind the early expiration of wrap
The reasons behind the early expiration of wrap include poor installation, environmental factors such as harsh weather conditions, low-quality materials, and improper maintenance. Therefore, when you apply the wrap, focus on things including the amount of wrap you need for your car, the size and shape of each vehicle part, using the recommended tools, and hiring a skilled person.
Tips to Avoid Paint Damage During Removal
Without following the right techniques and safety steps, removing car wrap can damage the paint. Follow these tips to ensure a safe wrap removal process:
- First test on a smaller area: No matter which method you apply, always test it on a smaller area first. This will help you determine whether the specific method is working right or not.
- Use the right tools and techniques: The required tools to remove car wrap are plastic scrapers, microfiber cloths, a proper heat source, and chemical solvents (if needed). Make sure you have all the tools at the time of wrap removal and use the right technique for removal.
- Maintain consistent heat to prevent peeling issues: Do not apply strong heat for long durations in one place because it can burn the wrap and may damage the paint.
- Avoid excessive force when peeling the wrap: When you start peeling the wrap, do not apply too much force and remove it slowly. Otherwise, the wrap may leave glue residues, and the removal process will become difficult if the wrap tears away.
- Clean the surface properly after removal: The final step that most people miss is cleaning and waxing the surface after car wrap removal. If you do not clean the surface, the glue will keep adhering to the surface and will damage the paint.
Common mistakes when removing vinyl wrap from a car
There are some common mistakes that many people make, which result in damage to paint and inefficient removal. Here is a short list of those common mistakes:
- Using too much or too little heat
- Pulling the wrap too fast or at the wrong angle
- Choosing the wrong solvent for adhesive removal
- Skipping the cleaning process before applying heat or solvent
- Not checking for underlying paint damage before starting
When to consider professional car wrap removal
Hiring a professional is highly recommended if you want to remove old vinyl wrap from the car. Whether you are installing the new wrap or removing the old wrap, hiring experts can make a big difference. Especially when installing the new wrap, the experts can help you find the best car wrap ideas and ensure the different wrap layers for the design fit perfectly. In short, you can handle the removal process on your own if the wrap is not too old and you have the tools and skills. Otherwise, if you do not know well how to remove car wrap, I recommend hiring a professional. It will ensure perfect wrap removal and keep the original paint safe from damage.
Additional Guide About Removing Vinyl Wrap From Vehicle
Here are some additional helpful tips for removing the wrap safely:
Techniques for removing stubborn wrap residue
Sometimes stubborn wrap residue is left behind after the removal of the wrap. Here are some tips to remove these stubborn residues:
- Use a mild adhesive remover or isopropyl alcohol.
- Gently rub with a microfiber cloth or plastic scraper.
- Avoid using harsh chemicals that can damage the paint.
- Wash and wax the car after cleaning to restore its shine.
Expert advice on old vinyl wrap removal
Old vinyl wraps are harder to remove and require special techniques for removal. Some recommended tips are the following:
- Using a steamer to loosen stubborn vinyl.
- Applying heat evenly to prevent breaking.
- Removing in sections instead of all at once.
- Using adhesive removers designed for old wraps.
How to prevent scratches during wrap removal
Another important thing to consider is keeping the paint safe from scratches. Here are some safety measures to follow:
- Always use plastic tools instead of metal scrapers.
- Apply even heat before peeling.
- Avoid aggressive rubbing with rough cloths.
- Clean the surface frequently during the process.
Conclusion
In short, you must have the necessary tools and skills to remove car wrap safely. You can use any of the three methods that I mentioned in this article for wrap removal. If you are not an expert and do not have the required tools, consider hiring the professional.
FAQs
How long does it take to remove a car wrap?
The average time required for removing the whole car wrap is around 2 to 6 hours. The removal time depends on the condition and age of the wrap, the removal methods, and your skill level.
Will removing a car wrap damage my car’s paint?
Removing the car wrap will not damage the paint if you use the right tools and technique. Otherwise, improper techniques, excessive heat, or low-quality wraps can cause peeling or scratches.
What is the best method to remove an old vinyl wrap?
To safely remove the old vinyl wrap, you can try the combination method. First apply the chemical solvent to soften the adhesive and then start removing the wrap by applying heat.
Can I remove a car wrap myself, or should I hire a professional?
You can remove it yourself if you have the proper tools and techniques. In comparison, if you do not have these resources, hiring a professional is recommended to avoid damage.
How can I determine the amount of wrap for my car?
The amount of wrap needed depends on the vehicle’s size and design. Estimating the wrap amount requires measuring all sides, edges, and corners accurately.


Hello there! This post could not be written any better!
Reading this post reminds me of my previous room mate!
He always kept talking about this. I will forward this write-up to him.
Pretty sure he will have a good read. Thanks for sharing!
Thanks so much! 😊 I’m glad it resonated with you. Hope your roommate finds it helpful too. Appreciate you sharing!